
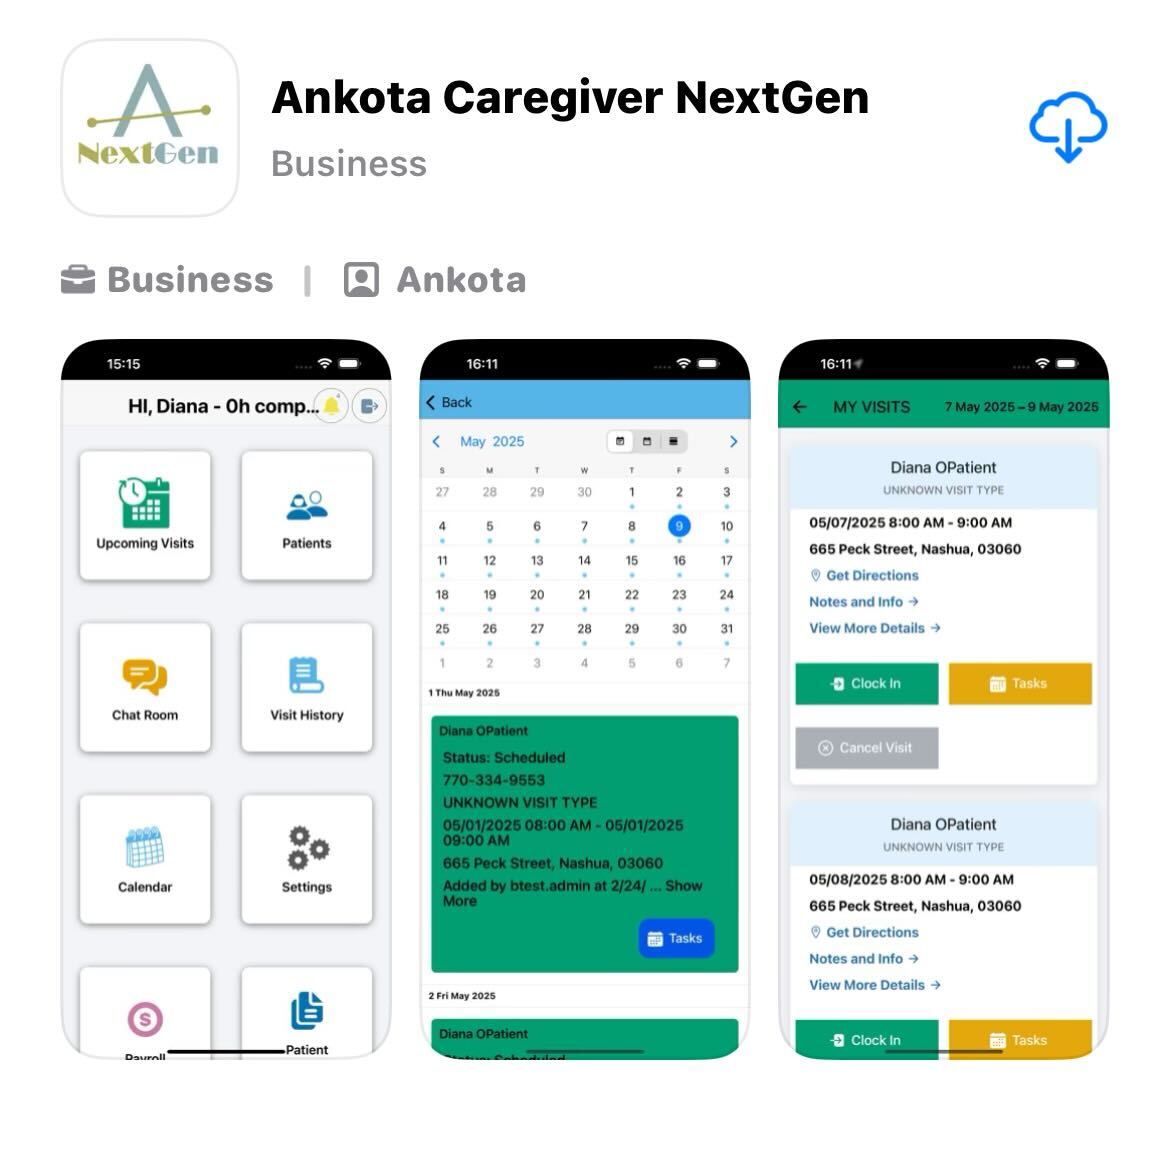
Ankota Caregiver NextGen Mobile App
Overview
Caregivers can clock in and out through the Ankota Caregiver NextGen mobile app. This walk-through will explain how to use the Ankota Caregiver NextGen mobile app and Ankota telephony.
A few important notes:
You will download the app by going to the Play store on an Android phone or the App Store on an iPhone
For a more detailed walkthrough, view How to Download the Ankota NextGen App
You can clock in or out using telephony or the mobile app for any client, and can use different methods for different visits, but you can NOT use telephony and the mobile app on the same visit
You can use ankota.net/employee in a browser if you are having any issue with the downloaded mobile app
You will only see the sections that your organization has chosen to use for your profile, so you may not see all the sections listed below
The old version (Ankota Caregiver App) will be removed effective September 1, 2025.
Caregiver Video & Manual
The basic caregiver video is IN PROGRESS and not yet released.
Ankota is highly customizable. This means your admins may have chosen different functions in your environment. While this article walks through common functions of the mobile app, please note that some mobile app settings or options may be different for you in the mobile app.
Index
This article includes:
Mobile App Operations
Log-in
Visits
My Clients (Create Your Own Visits)
Available Shifts
Notification Center
Visit History
Rework, Manual on Hold Closure and Missed Visits
No Show Reporting
Chat
Payroll
Documents
Calendar
Settings (Including Adding your own Availability)
Mobile App Resources
Troubleshooting
Mobile App Operations
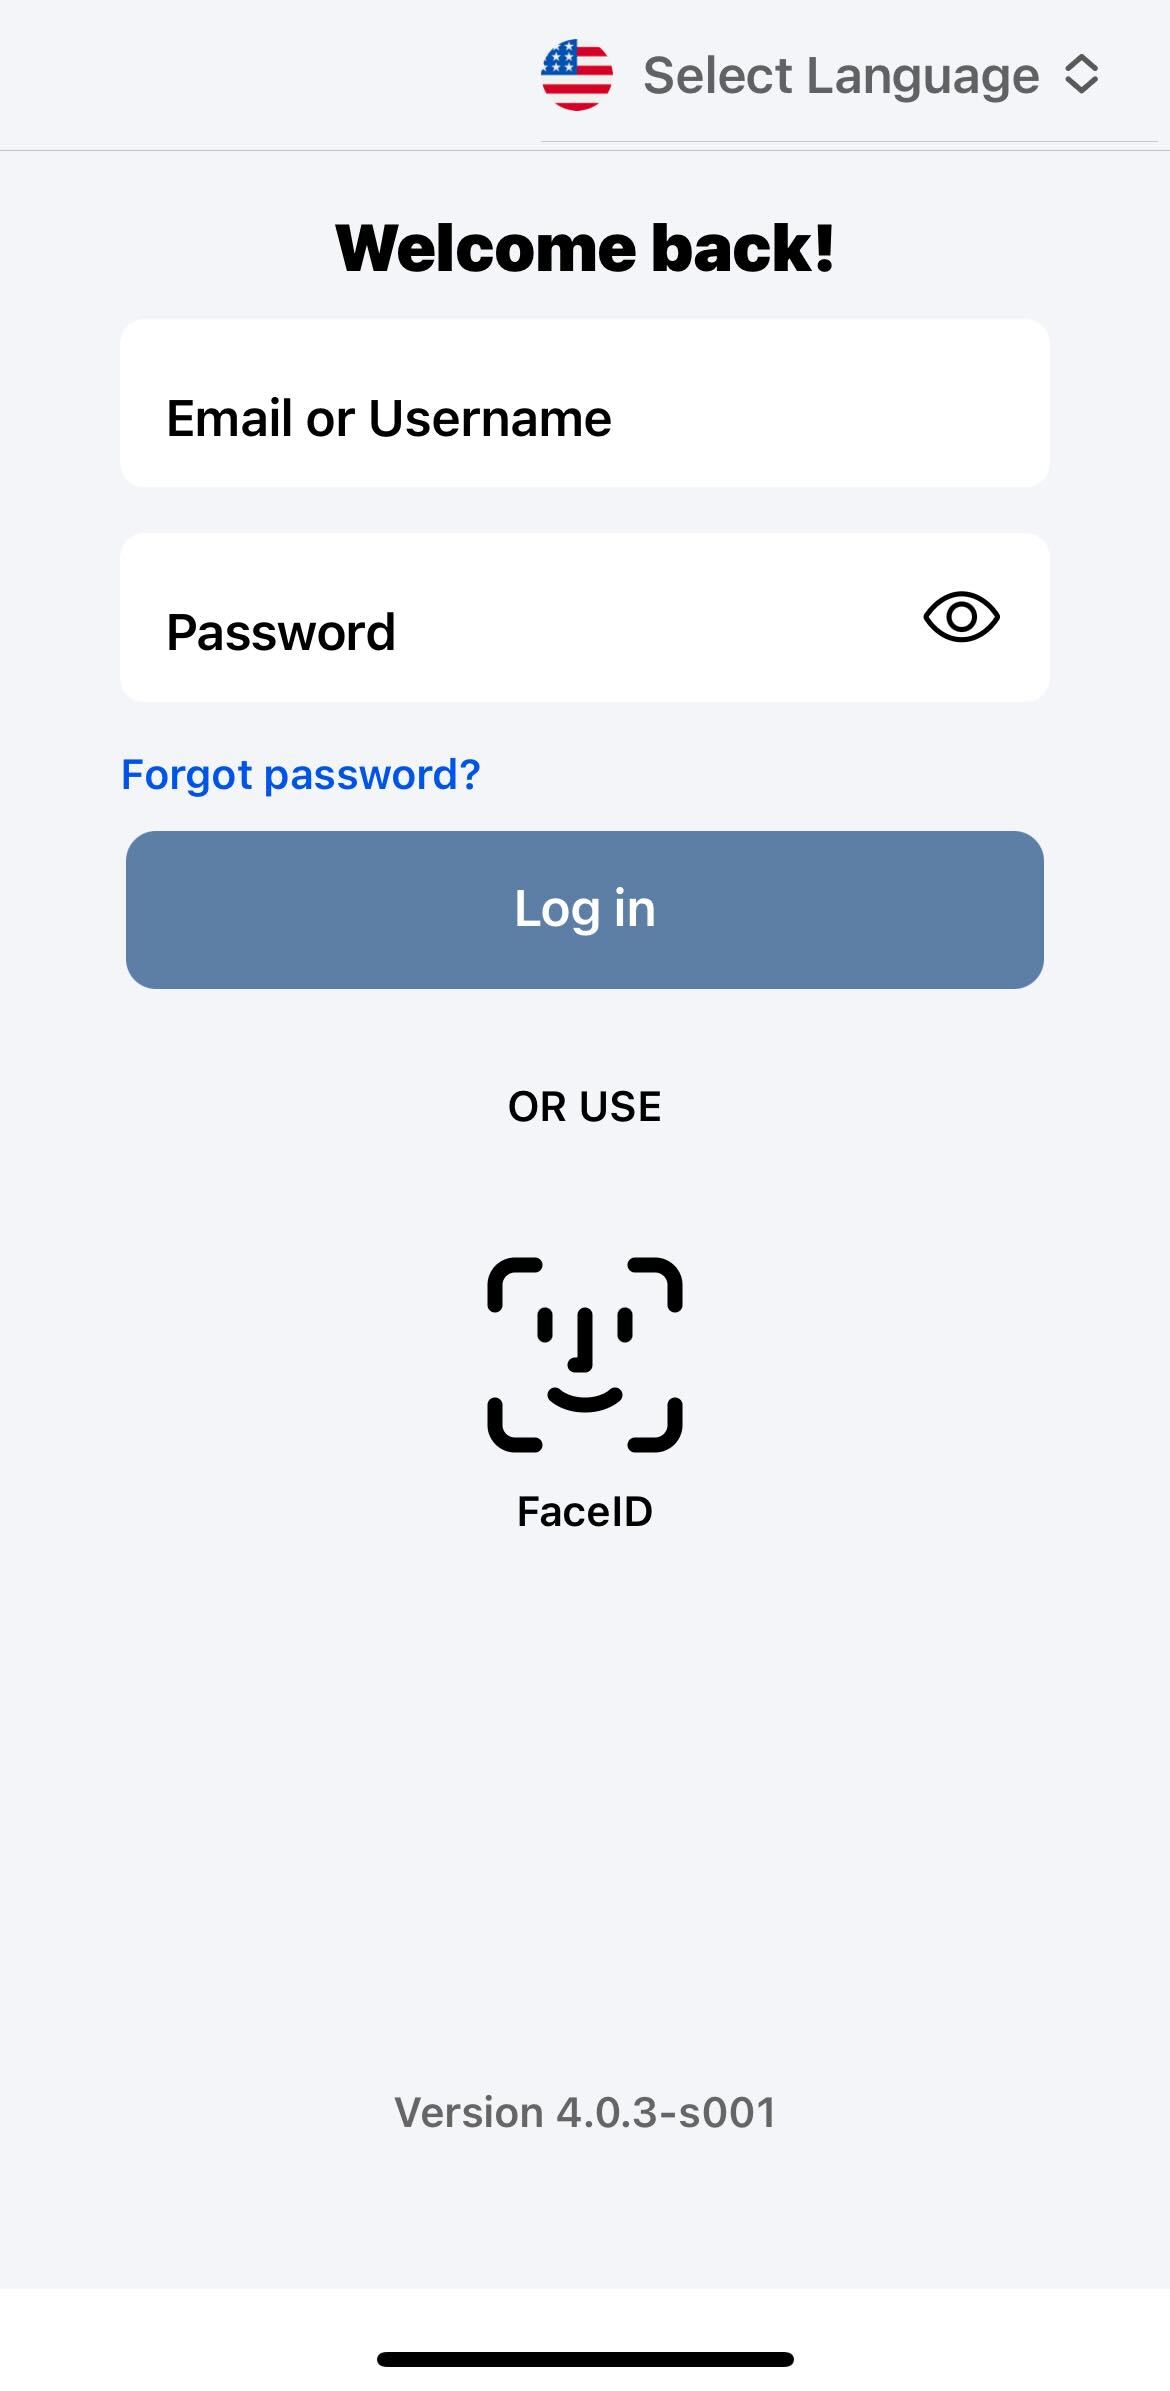
Log-in
Arrive at the service location
Open the Ankota Caregiver NextGen app
Change the language if needed
-
Enter your Username and Password
Your Username and Password will be set up by your Administrator
-
Typical Password requirements include the following:
Must be between 6–11 characters long
Capital letters are not required but can be used
Special characters and numbers are optional
If you choose to use a special character, only "." and "!" are accepted
For a more detailed walkthrough with screenshots, click the Ankota NextGen Log In article.
For Two - Factor authentication, click the Two-Factor Authentication article. This article is IN PROGRESS and not yet released.
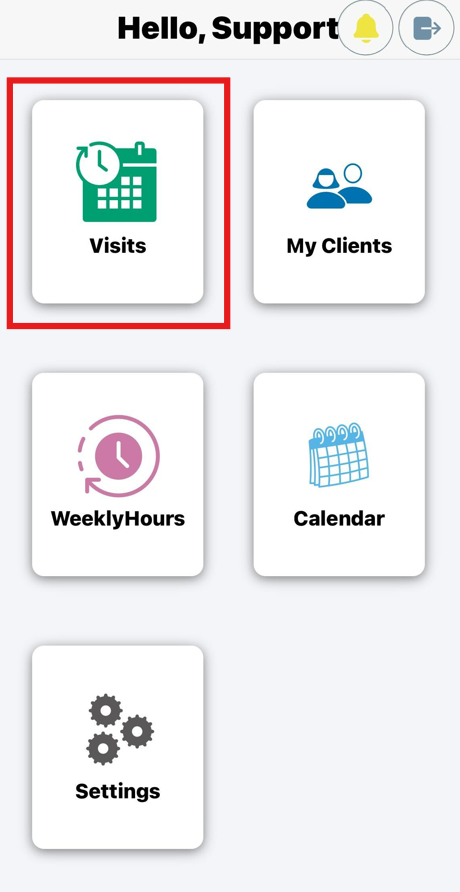
Visits
Initial Access
In Visits, you will see a list of your visits for the day. You will also have the option to change the date range if desired to see a larger time period.
For a more detailed walkthrough with screenshots, click the Initial Access to Visits article.
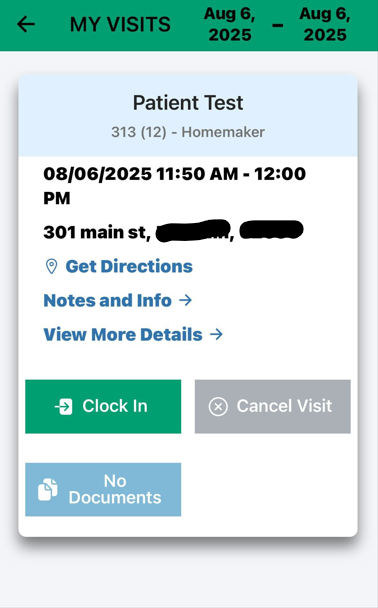
Reporting Arrival
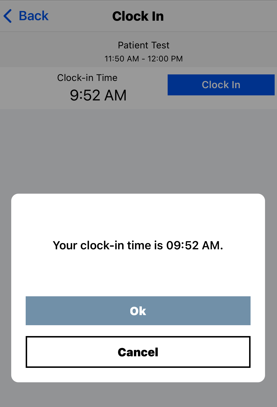
To clock in, click the Clock In button
Once you Clock In, you will be asked to accept the time
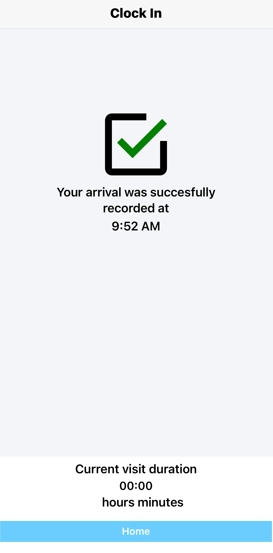
You will then see a message confirming your arrival and telling you your expected departure time
Once you accept, you will see the green check mark confirming your arrival
For a more detailed walkthrough with screenshots and to add a Break, click the Reporting Arrival.
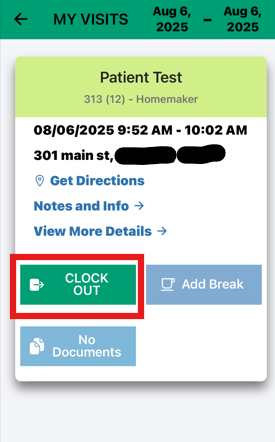
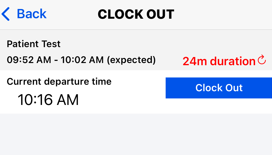
Reporting Departure
To clock out, click on Visits and then Clock Out
Once you Clock Out you will be asked to accept the time
You will then see a message confirming your arrival and telling you your expected departure time
-
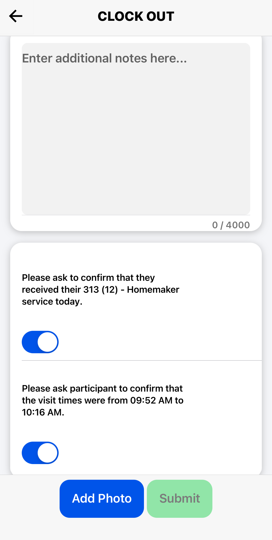
Report care plan items as needed
Swipe right if tasks were confirmed by the client
-
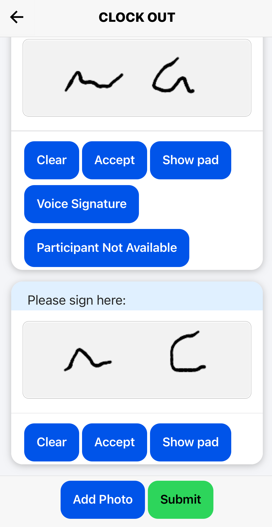
Collect signatures
-
Client signatures can be collected one of two ways: voice or signature pad
Note: The Submit button won't work until the caregiver collects signatures for caregiver and client
-
Report concerns if needed
Report errand miles (this may not be configured per Admin request)
You will then be asked if you are sure you want to clock out at this time. Click Submit if you would like to continue with your clock out; if not, keep working and complete the visit at the appropriate time
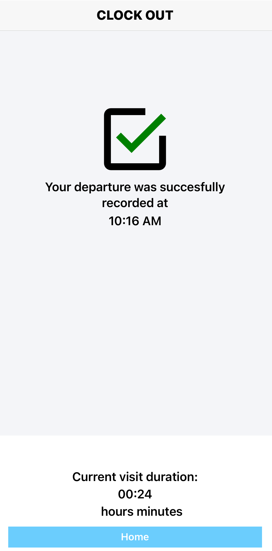
Once you see the success message you can navigate back to the home page
For a more detailed walkthrough with screenshots, click the Reporting Departure article. This article is IN PROGRESS and not yet released.
For a more detailed walkthrough of voice signatures, click Ionic Voice Signature article. This article is IN PROGRESS and not yet released.
Offline Mode
The ability to work offline in the mobile app is a great feature for caregivers that may work in an area that has low bandwidth. You would simply log in to the app in an area with good signal/bandwidth. This can be at home, office or anywhere before the visit begins. Once the app has been logged into, all the visits for the day will load and the caregiver will be able to complete the visits as expected once at the service location. All details of the visit will be recorded as you enter them. Once you are in an area with appropriate signal/bandwidth, all recorded information will be sent to Ankota.net (after logging back into the app).
Contiguous Visits
Your back-to-back visits may show as one or two visits depending on your organization's preferences. If it is one visit, the caregiver would clock in and out once.
My Clients (Create Your Own Visits)
Some caregivers, typically nurses or consumer direct caregivers, are given permission to create visits as needed. To clock in for an approved client, log in to the mobile app, then click on the My Clients section. (This section may have a different name depending on your organization)
-
You will see a list of client options based on the clients you are approved for
There may be an option to see non-editable PDF versions of patient files (per Admin request)
Click Clock In next to the client's name that you wish to clock in for
This creates a new visit
Complete your arrival as usual
When you are ready, you may clock out either under My Clients or under Visits, following the usual procedures
NOTE: if you do not see any clients in the My Clients section, you have not been given special permission to clock in for that client at any time. If you think you should have this option and do not see it, speak to your supervisor.
For a more detailed walkthrough with screenshots, click the Create Your Own Visits article. This article is IN PROGRESS and not yet released.
Available Shift
The Available Shifts feature shows what shifts have not been picked up for the day. There will be an option to Accept or Decline the available shifts.
NOTE: If you do not see an Available Shifts section, you have not been given special permission for this. If you think you should have this option and do not see it, speak to your supervisor.
For a more detailed walkthrough with screenshots, click the Available Shifts article. This article is IN PROGRESS and not yet released.
Availability/My Hours
The Availability/My Hours feature (not to be confused with Available Shifts) allows caregivers to enter their preferred working hours and submit time-off requests.
Note: If the Availability/My Hours section does not appear for you, it means you have not been granted access to this feature. If you believe you should have this permission, please speak with your supervisor.
For a detailed walkthrough, click the Availability/My Hours link.
Rework, Manual on Hold Closure by Caregiver and Missed Visit Functionality
When caregivers do not complete their visits, there are two options.
For caregivers who do not schedule their own visits, visits can be sent to in a Rework status in the Visits section, so you can rework your previous visit. Please note, the caregiver cannot change the times of the visit when sent for rework. It is recommended the caregiver put in notes the actual arrival/departure times.
For caregivers who do not schedule their own visits, visit can be moved to On Hold status and sent back to the Visits section, so the caregiver and rework the previous visit. The visit will show on the top of the page under My (Scheduled) Visits. There they will clock out and report departure time, care plan items, and signatures if needed.
For caregivers who schedule their own visits, missed visits can be created in the past by clicking the Missed Visit button on the My Clients scheduling page.
For a more detailed walkthrough with screenshots, click the Rework, Manual On Hold Closure by Caregiver and Missed Visit article. This article is IN PROGRESS and not yet released.
No Show Reporting
This may not be in your environment, as this is an optional feature that would be requested by Admin. This button is to report a No Show by client and is useful when a visit can't be completed due to reasons by client. See No Show article for more. This article is IN PROGRESS and not yet released.
Notification Center
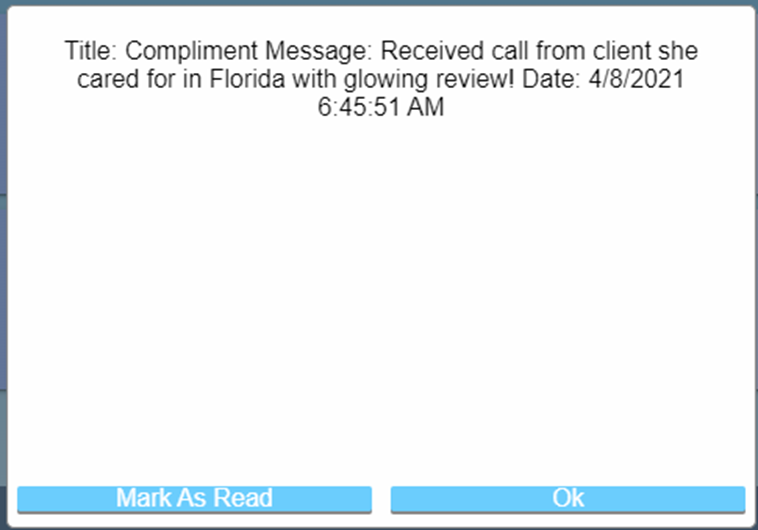
The Notification Center is where you will see any messages or notifications that have been sent to them by an admin. They will be able to see the number of messages they have from the main menu. Notifications include new visits added in the next 48 hours of your schedule as well as soon-to-expire HR requirements, such as CPR certifications.
Visit History
The Visit History is where you can see a list of visits based on a date range. You can also add notes to a past visit from this page.
Chat
The Chat section allows you to quickly reach out to administrators, typically schedulers. To start a conversation, simply click Chat, then click on the admin's name to open a chat page. On this page you can instant message, start a video chat, or send documents. Please note video chat is in beta.
For a more detailed walkthrough with screenshots, click the Mobile Chat article. This article is IN PROGRESS and not yet released.
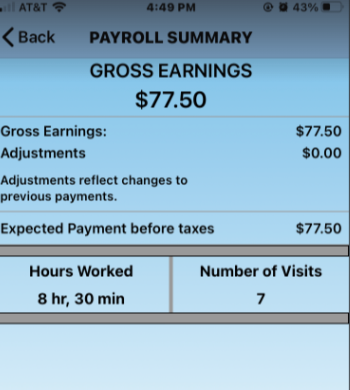
Payroll
This is where a caregiver can look and keep track of their payroll. You can click on the date range you would like and see a summary of that payroll. The payroll summary is gross pay only. This does not typically include taxes. If this section is not under your app, please note this may be turned off by admins.

Documents
The Documents sections is different from the documents available on a visit for nurses or other caregivers. By clicking on this section, you will have access to PDF versions of saved forms for your approved clients (This differs from access to forms on visits, where the forms are accessible for editing.) These documents links can be clicked for a quick read-only experience. Please note these are not in every environment and are rarely configured.
For a more detailed walkthrough with screenshots and to learn more on accessible forms for editing, click the Documents article.This article is IN PROGRESS and not yet released.

Calendar
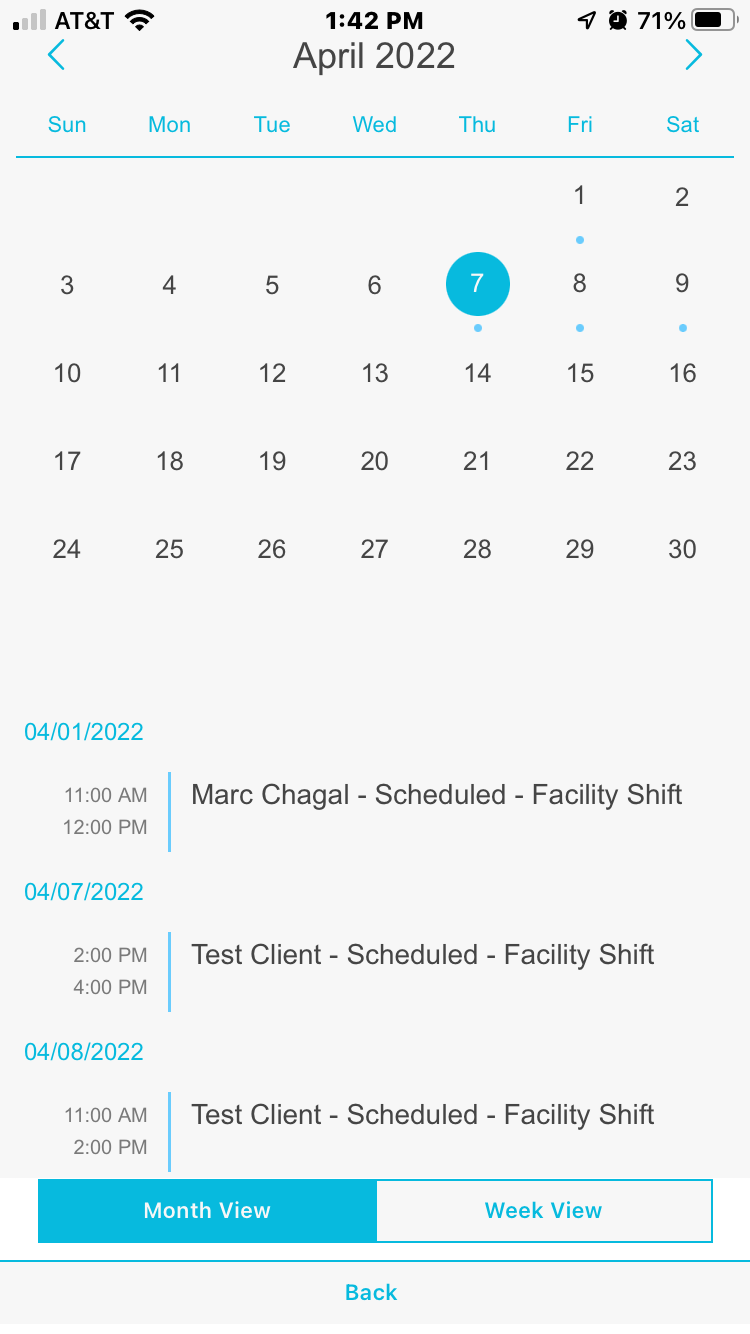
The caregiver calendar provides a quick, visual overview of the caregiver’s upcoming schedule. To view the calendar, simply click Calendar from the main menu. It is defaulted to month view of the current month, with dots representing each scheduled visit. Below the calendar, there is a list of every visit including the date, time, client, visit status, and visit type.
If you click on a specific day in the calendar with a schedule visit or visits, a preview of the day will also appear. To view the calendar in week view, click Week View at the bottom.
For a more detailed walkthrough with screenshots, click the Calendar article. This article is IN PROGRESS and not yet released.
Settings
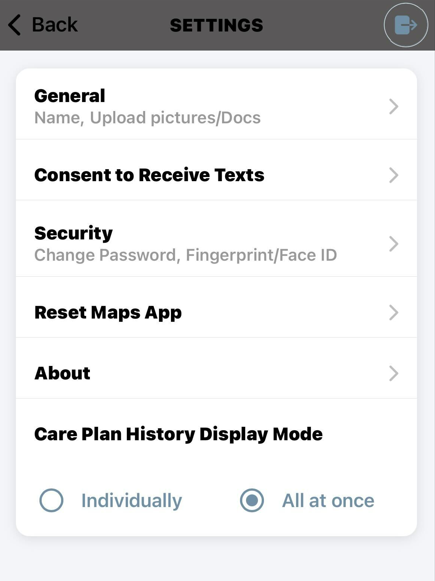
(Note: some Settings options may be hidden for you, depending on your organization's preferences.) There are many functions available under settings including:
Account functionality, where caregivers can see their listed profile name
Upload documents or picture
Availability, where you can define your available work schedule
-
Change Password functionality
You will be taken here the first time you log in
Fingerprint functionality, where you can set the fingerprint-based sign-in
Reset Maps App
About information, to see your software version
The settings reminder
Log Out functionality
For a more detailed walkthrough with screenshots, click the Settings. This article is IN PROGRESS and not yet released.
Mobile App Resources
Troubleshooting
Basic Troubleshooting Steps
If you are encountering issues with your Ankota Caregiver mobile app, first review the steps below.
-
Did you forget your password?
-
Try resetting your password.
Press the forgot password button and change your password.
Contact your Administrator if this fails to work.
-
-
Do you have the correct app?
Be sure you have downloaded the Ankota Caregiver mobile app and not a different Ankota app.
-
Is your username correct?
Check with an admin to be sure you have the correct username.
-
Is your password correct?
-
Try resetting your password by selecting Forgot Password.
If continued to have password issues please contact admin or Ankota Support for assistance.
-
-
Ankota.net/employee
-
If you believe your username and password are correct, go to this web version of the app and attempt your login.
If your login attempt fails, double check your username and change your password.
Double check that you are using the correct URL Link (ankota.net/employee).
-
-
Is the screen blank?
Is the template correct under the caregiver's profile. Ask you Admin to double check template and user role.
-
Is there an update?
Delete the app, go into your app store and redownload the Ankota Caregiver App. Make sure to allow GPS while using the App when prompted.
-
Are you online?
-
Be sure that your phone has service and is online.
Note that you can use the app while offline but will need to login while online for your visits for the day to load.
-
-
Is your GPS enabled?
-
Check that your GPS is enabled on your phone.
Check that you have not pressed do not allow when asked if Ankota can access your location.
-
-
Is your signal poor?
-
Try going offline by turning cellular data off.
For more on turning on data for Android's and iPhone's click Turning Off Data.
Try turning on cellular data and/or wifi.
-
If the above does not correct your issue, keep in mind most issues can be fixed with a re-install. First, check to make sure you have the latest version. If it is not updating, delete your current version, then go to your app store and download a new copy. You can also use ankota.net/employee in a browser if you are unable to resolve the issue any other way, but keep in mind the browser-based version will not be the current store app's version.
For a more detailed walkthrough with screenshots, click the Troubleshooting article.